Construction & Building Solutions
Guide to Choosing the Right Roof Trims
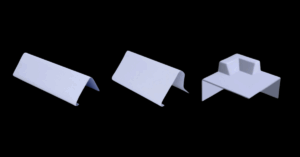
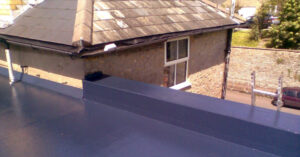
Boost your flat roof’s performance and appearance with the perfect GRP trims. Get expert advice and top product tips in our complete guide.
We value your privacy
Cookies are small text files stored on your computer by websites you visit. They help users navigate websites efficiently and enable certain essential functions.
Cookies necessary for the website to function properly can be set without your consent, while all other cookies require your approval before being used in your browser.
Additionally, we use cookies to gather data for personalizing and evaluating the effectiveness of our advertising.
For more information, please refer to the Google Privacy Policy.
You can find the list of all the cookies that we use on our website here.

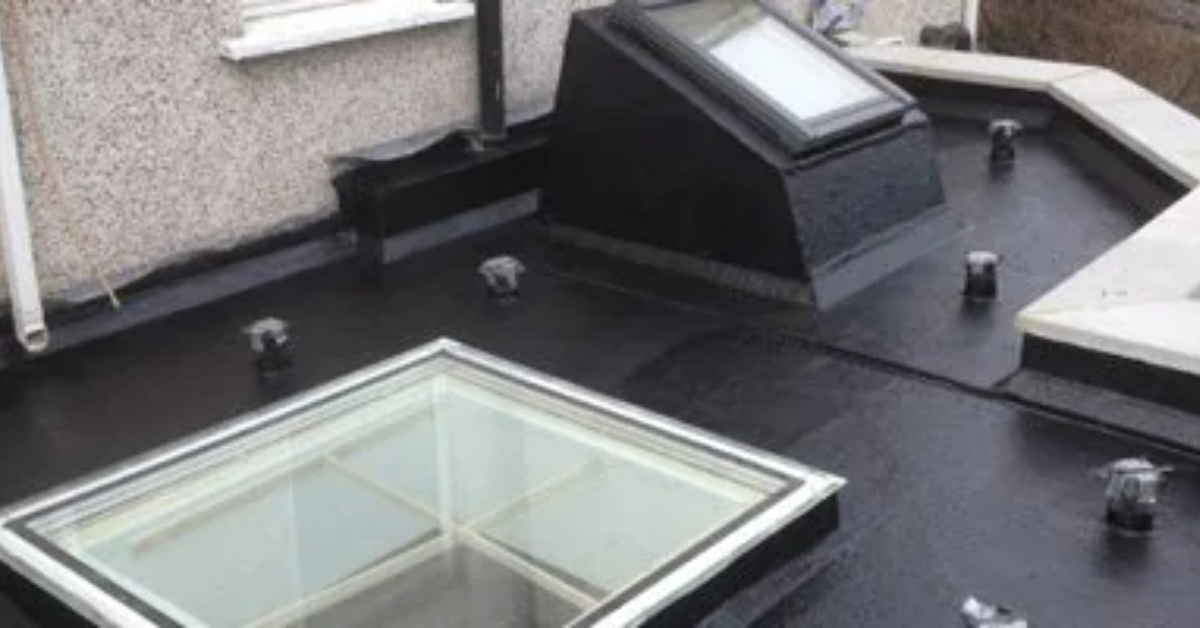
Boost your flat roof’s performance and appearance with the perfect GRP trims. Get expert advice and top product tips in our complete guide.

Roofing resins like Original GRP, HPX, MultiFlex, Polyurethane, and Acrylic offer unique benefits for residential and commercial properties. Learn about the advantages, applications, and features of each resin type to choose the best option for your roofing needs.

Upgrade your roof with quality materials for lasting performance and appeal. Explore the advantages of fibreglass kits. Read the full article now.
Fibreglass Roof Kits are becoming a top choice for homeowners seeking a durable, energy-efficient, and low-maintenance roofing solution. In this post, we explore the key benefits of fibreglass roofing, from easy installation and sleek aesthetics to long-term cost savings and